Before diving into this content, it might be helpful to read the following:
Resource tags are available for Plus and Enterprise plans.
Not to be confused with commit tags: Resource tags are key-value pairs used to organize and filter workspace resources (projects, datasets, prompts, etc.). Commit tags are labels that reference specific versions in a prompt’s commit history. While both types of tags can use similar terminology (like
prod or staging), resource tags help you organize resources across your workspace, while commit tags control which version of a prompt is used in your code.Create a tag
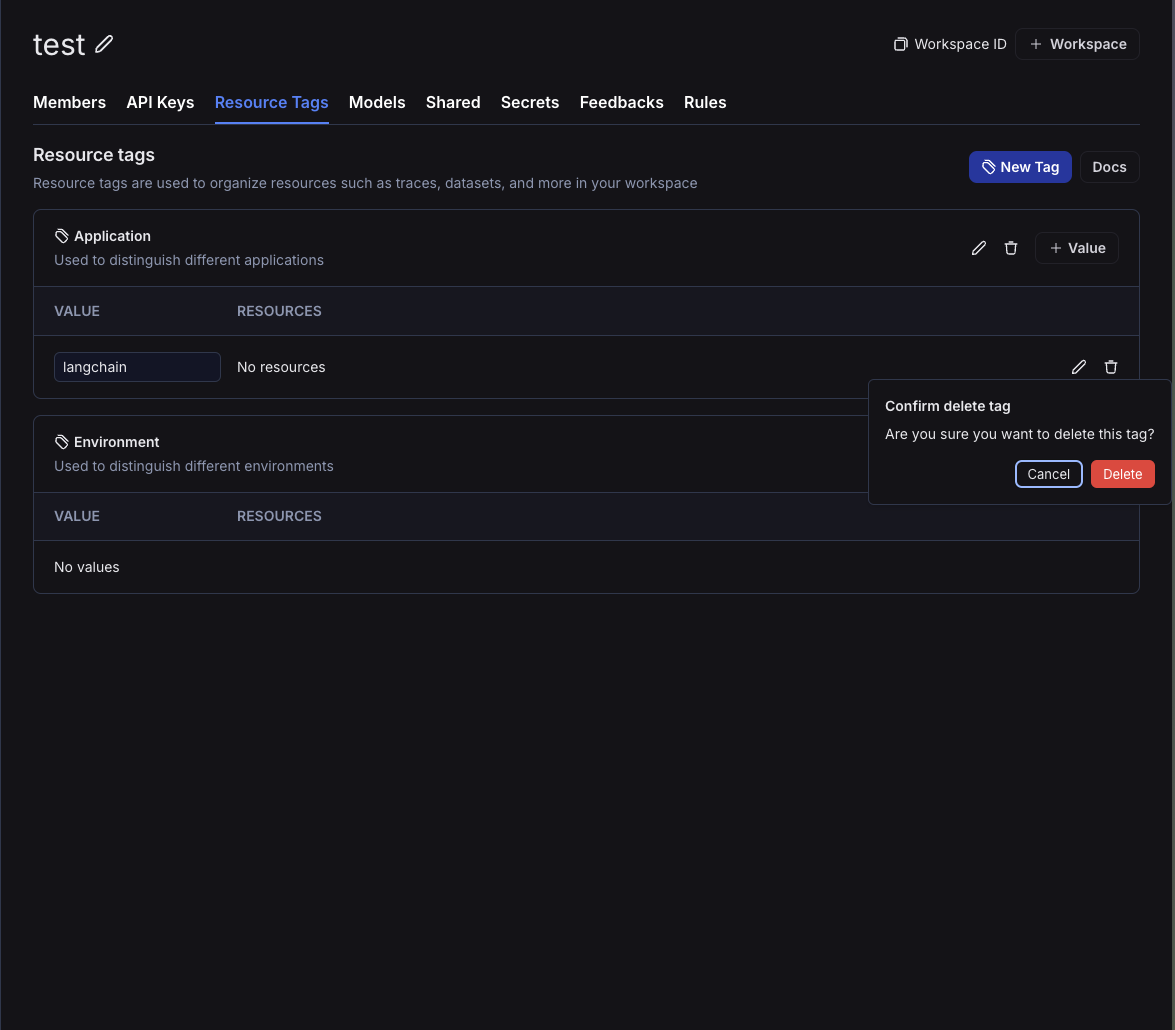
To create a tag, head to the workspace settings and click on the “Resource Tags” tab. Here, you’ll be able to see the existing tag values, grouped by key. Two keysApplication and Environment are created by default; the Application key is used to filter resources shown in the UI.
To create a new tag, click on the “New Tag” button. You’ll be prompted to enter a key and a value for the tag. Note that you can use an existing key or create a new one.

Assign a tag to a resource
Within the same side panel for creating a new tag, you can also create assign resources to tags. Search for corresponding resources in the “Assign Resources” section and select the resources you want to tag.You can only tag workspace-scoped resources with resource tags. This includes Tracing Projects, Annotation Queues, Deployments, Experiments, Datasets, and Prompts.
Delete a tag
You can delete either a key or a value of a tag from the workspace settings page. To delete a key, click on the Trash icon next to the key. To delete a value, click on the Trash icon next to the value. Note that if you delete a key, all values associated with that key will also be deleted. When you delete a value, you will lose all associations between that value and resources.